If you have the unfortunate experience of dealing with a leaking roof beneath the shingles, it is crucial to address the issue promptly and effectively to prevent further damage to your home. In this article, we will explore an array of effective methods to repair a leaking roof underneath the shingles. From identifying the source of the leak to implementing appropriate repairs, these strategies will provide you with the knowledge and guidance necessary to successfully tackle this common roofing issue. With these solutions at your disposal, you can restore the integrity of your roof and safeguard your home from potential water damage.

This image is property of pixabay.com.
Identifying the Leaking Roof
Inspecting the Interior
When faced with a leaking roof, it is important to first identify the source of the problem. Begin by inspecting the interior of the building, as this can help pinpoint the area of the roof that is leaking. Look for water stains on the ceiling, walls, or in the attic. You may also notice bulging or sagging areas, which can indicate water damage. Take note of the location and extent of any signs of water intrusion, as this will be helpful during the repair process.
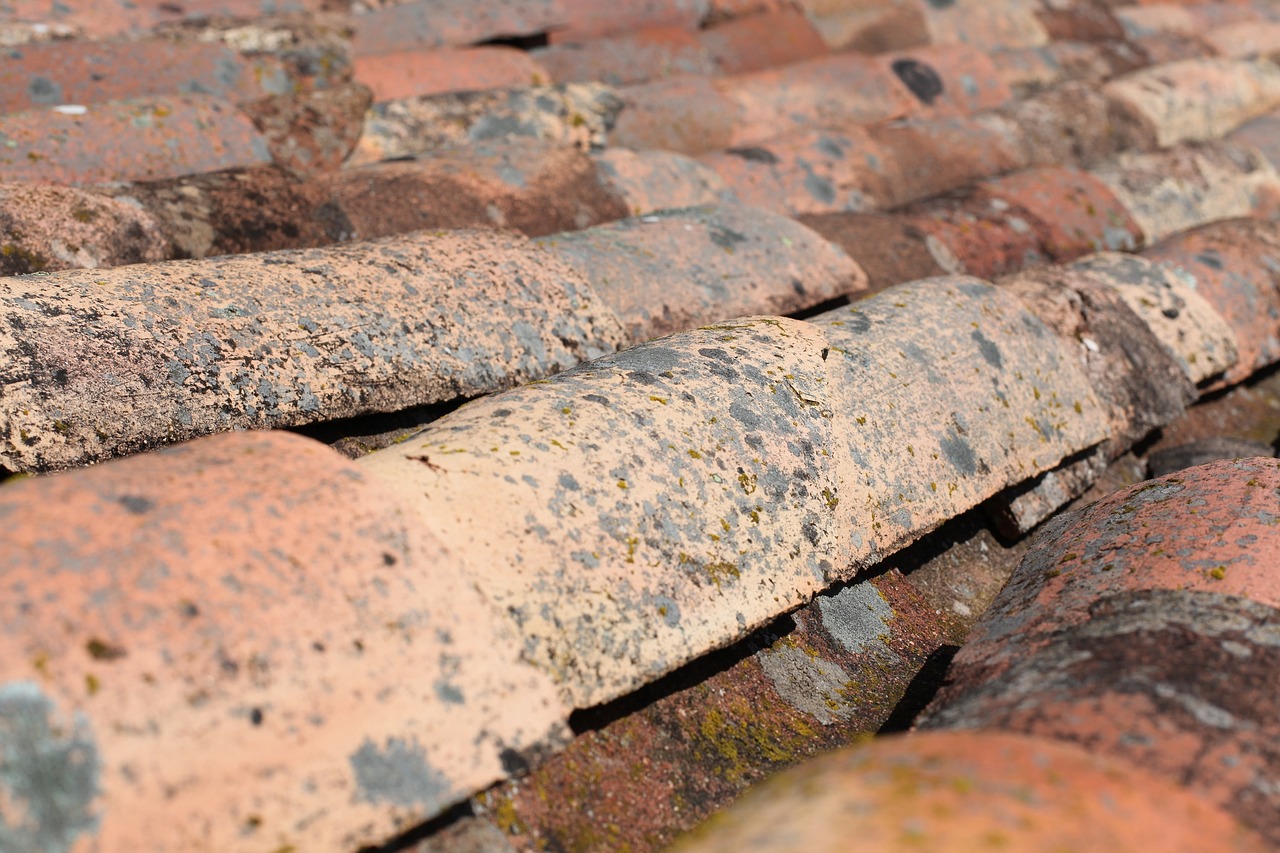
Examining the Exterior
After inspecting the interior, it is crucial to examine the exterior of the roof to further narrow down the source of the leak. Start by visually inspecting the roof from the ground, looking for any obvious signs of damage such as missing or damaged shingles, cracked flashing, or clogged gutters. If possible, use binoculars to get a closer look at the roof and identify any potential problem areas. Pay attention to areas where different materials meet, such as the roof valleys or around chimneys and vents, as these are common areas for leaks to occur.
Gathering the Necessary Tools and Materials
Safety Equipment
Before you begin any repair work on a leaking roof, it is crucial to prioritize safety. Gather the necessary safety equipment, such as a sturdy ladder, non-slip shoes, and a harness if working on a steep roof. Additionally, make sure you have protective gear such as gloves, safety glasses, and a dust mask to protect yourself from potential hazards during the repair process.
Repair Materials
Once you have ensured your safety, gather the necessary materials to fix the leak. This may include roofing cement, roofing tape, replacement shingles, flashing materials, nails, and a pry bar or shingle remover tool. Depending on the extent of the damage, you may also need a roof patch, sealant, or additional structural reinforcement materials.
Preparing for the Repair
Clearing the Roof Surface
Before you can effectively repair the leaking roof, it is important to clear the surface of any debris or loose shingles. Use a broom or brush to remove leaves, twigs, and any other debris that has accumulated on the roof. Pay close attention to the valleys and gutters, as these areas are more prone to clogging. Clearing the roof surface will ensure a clean and stable base for the repair work.
Removing Damaged Shingles
Once the roof surface is clear, identify and remove any damaged or missing shingles. Use a pry bar or shingle remover tool to carefully lift the shingles and expose the nails holding them in place. Remove the nails and gently lift and slide out the damaged shingles. Take note of the size and type of shingles that need to be replaced to ensure proper replacement later in the repair process.
Fixing Small Leaks
Using Roofing Cement
For small leaks and minor damage, roofing cement can be an effective solution. Apply a generous amount of roofing cement to the damaged area, spreading it evenly with a putty knife or trowel. Ensure that the cement extends slightly beyond the damaged area to create a watertight seal. Smooth out the cement and allow it to dry completely before moving on to the next step.
Applying Roofing Tape
In addition to roofing cement, roofing tape can provide an extra layer of protection against leaks. Cut a piece of roofing tape to the appropriate size and firmly press it over the damaged area, ensuring that it adheres properly to the roof surface. The roofing tape acts as a waterproof barrier and reinforces the repair. Smooth out any air bubbles or wrinkles in the tape to create a tight seal.

This image is property of pixabay.com.
Repairing Damaged Flashing
Identifying Faulty Flashing
Flashing is an essential component of the roof that helps prevent water from seeping into vulnerable areas, such as around chimneys, vents, and skylights. Over time, flashing can become damaged or deteriorate, leading to leaks. Inspect the flashing carefully for cracks, gaps, or signs of corrosion. If you notice any issues with the flashing, it is important to address them promptly to prevent further damage to the roof.
Removing and Replacing Flashing
To repair damaged flashing, first, remove the old flashing using a pry bar or appropriate tool. Take care not to damage the surrounding area during this process. Once the old flashing is removed, clean the area thoroughly to ensure proper adhesion of the new flashing. Cut a piece of new flashing to the correct size and shape, then position it securely in place. Use roofing nails or appropriate fasteners to secure the new flashing, ensuring a tight fit that will effectively prevent leaks.
Replacing Damaged Shingles
Removing Nails
When it comes to replacing damaged shingles, start by removing the nails that hold the damaged shingles in place. Use a pry bar or shingle remover tool to lift the edges of the shingles and expose the nails. Carefully remove the nails without causing further damage to the surrounding shingles or the roof deck.
Installing New Shingles
Once the old shingles and nails are removed, it is time to install the new shingles. Slide the new shingle into place, ensuring it aligns with the surrounding shingles. Secure the shingle in place using roofing nails, driving them through the designated nail slots on the shingle. Be mindful of the recommended nail placement and spacing provided by the manufacturer to ensure a secure and long-lasting repair. Repeat this process for each damaged shingle, ensuring a seamless and watertight repair.

This image is property of pixabay.com.
Addressing Large Area Leaks
Using a Roof Patch
For larger leaks or areas of extensive damage, a roof patch may be necessary. Roof patches are typically made of a durable waterproof material designed to provide temporary relief until a more permanent solution can be implemented. Cut the roof patch to the appropriate size, ensuring it covers the damaged area completely. Apply the patch over the leak, ensuring a tight and secure fit. Use roofing nails or appropriate fasteners to hold the patch in place. While a roof patch is not a long-term solution, it can provide immediate protection until further repairs can be made.
Applying Sealant
To further reinforce the repair and prevent future leaks, apply a layer of sealant over the patched area. Choose a high-quality roof sealant that is compatible with the materials used on your roof. Apply the sealant evenly and generously, ensuring it covers the patched area completely. Smooth out the sealant to create a seamless and watertight barrier. Allow the sealant to dry thoroughly before subjecting it to any water exposure.
Repairing Structural Damage
Hiring a Professional
In cases where the leaking roof is caused by significant structural damage or requires major repairs, it is advisable to hire a professional roofing contractor. Structural damage can pose serious risks and should be addressed by experienced professionals who have the knowledge and expertise to handle such repairs. They will be able to assess the extent of the damage, provide appropriate solutions, and ensure the repair is carried out safely and effectively.
Reinforcing Roof Decking
If the leaking roof is due to weakened or damaged roof decking, reinforcing the decking may be necessary. This requires removing the shingles and underlayment to expose the roof deck. Assess the condition of the decking and replace any damaged sections. Strengthen the roof deck by adding additional layers of plywood or other suitable materials. Ensure the new decking is securely fastened to the underlying structure, providing a stable and reliable base for the roof.
Preventing Future Leaks
Maintaining Gutters and Downspouts
Regular maintenance of gutters and downspouts is crucial in preventing future leaks. Clogged or damaged gutters can lead to water overflowing onto the roof, causing damage to the shingles and potential leaks. Clean the gutters regularly, removing leaves, debris, and any blockages. Ensure that the downspouts are properly directed away from the foundation of the building to prevent water from pooling near the structure.
Regular Roof Inspections
To catch potential issues before they turn into major problems, it is recommended to conduct regular roof inspections. Inspect the roof at least twice a year, and after any severe weather events. Look for signs of damage, such as loose or missing shingles, cracked flashing, or damaged areas. Address any issues promptly to prevent leaks and ensure the longevity of your roof.
Conclusion
Repairing a leaking roof under shingles requires a systematic approach that includes inspection, gathering the necessary tools and materials, preparation, and appropriate repair techniques. By identifying the source of the leak, using the correct materials, and following the steps outlined in this article, you can effectively repair a leaking roof and prevent further damage to your property. Whether it’s fixing small leaks, addressing damage to flashing or shingles, or even reinforcing structural components, taking prompt action and implementing preventative measures can help maintain the integrity of your roof and safeguard your building against future leaks. Remember, when dealing with extensive damage or when in doubt, it is best to seek the assistance of a professional roofing contractor to ensure a safe and reliable repair solution.